AC Repair Red Flags: 7 Warning Signs You Shouldn’t Ignore This Summer
Uncover the seven critical AC warning signs that could save you thousands in repair costs before it’s too late.

Uncover the seven critical AC warning signs that could save you thousands in repair costs before it’s too late.

Most homeowners miss these critical maintenance spots until they turn into costly disasters – discover what you might be overlooking.

Kickstart your basement transformation with these seven stellar ideas, turning wasted square footage into valuable, usable living space.

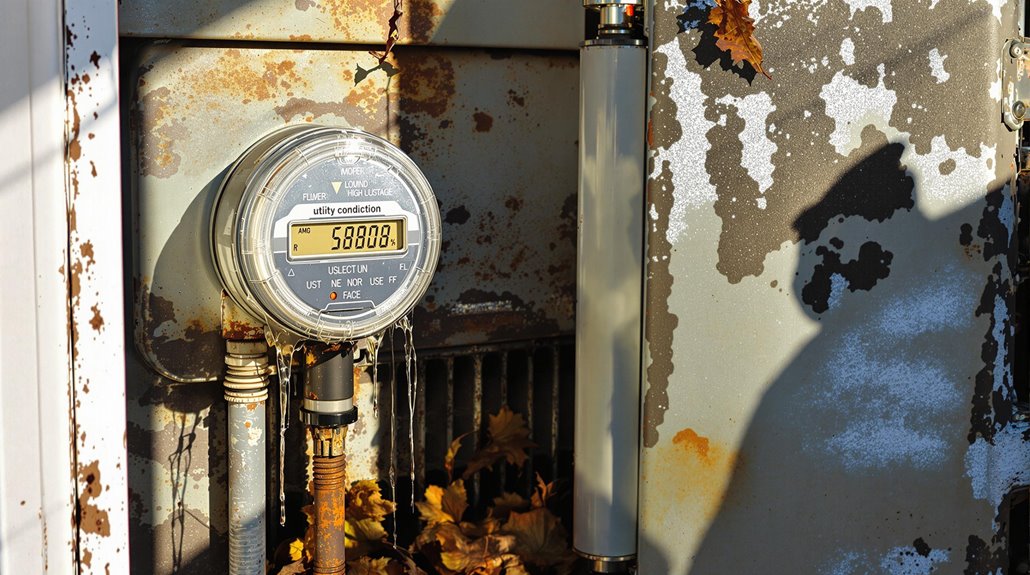
Watch out for these critical AC warning signs that demand immediate attention: strange grinding or banging noises, weak airflow between rooms, unexplained spikes in energy bills, and persistent moisture issues. You’ll also want to address any unpleasant odors from vents, constant system running without cooling, or frequent on-off cycling. Understanding these red flags can help you prevent costly breakdowns and keep your home comfortable all summer long.

“When your air conditioner starts making unfamiliar sounds, it’s often one of the first signs that something isn’t working properly,” warns Bert Miskell, owner of BPM Heating & Cooling, which provides ac repair in Frederick, MD and beyond.
Listen for specific noises like grinding, which can indicate worn bearings or motor problems. Squealing or screeching might mean a damaged belt or compressor issues, while banging or clanking suggests loose components inside the unit.
You’ll want to pay attention to buzzing sounds, as they could point to electrical problems or loose parts. Clicking noises during startup and shutdown are normal, but constant clicking might signal a failing thermostat.
If you hear whistling or hissing, your AC might’ve a refrigerant leak or ductwork issues. Don’t ignore these warning sounds – they typically worsen over time and could lead to costly repairs if left unchecked.
Have you noticed some rooms in your home feel warm while others stay perfectly cool? This inconsistent airflow is a clear warning sign that your AC system needs attention.
Several issues could be causing this problem, including blocked or leaking ductwork, a failing blower motor, or a clogged air filter.
Don’t ignore these airflow issues, as they’ll likely worsen over time and lead to higher energy bills.
When your AC struggles to distribute air evenly, it works harder to maintain desired temperatures, putting extra strain on the system. This added stress can shorten your unit’s lifespan and potentially cause more expensive repairs down the line.
If you’re experiencing weak or uneven cooling, it’s time to call a professional AC technician to diagnose and fix the underlying cause.
A sudden spike in your monthly energy bills often signals trouble with your AC system, especially if you haven’t changed your cooling habits.
When your air conditioner isn’t operating efficiently, it has to work harder and longer to maintain your desired temperature, consuming more electricity in the process.
Several issues can cause your AC to waste energy:
Don’t ignore these unexplained cost increases, as they’ll only get worse over time.
Contact an HVAC professional to inspect your system and identify the underlying cause of the energy waste.
Your air conditioner should manage indoor humidity levels while cooling your home, keeping them between 30-50%. If you’re noticing excessive moisture, foggy windows, or a clammy feeling indoors, your AC system might be failing to dehumidify properly.
Watch for water stains on walls or ceilings, musty odors, and condensation on air vents – these are clear signs something’s wrong. High humidity doesn’t just make you uncomfortable; it can lead to mold growth, wood rot, and structural damage.
You might also spot water pooling around your indoor unit or notice your AC’s drain line isn’t flowing properly. Don’t wait to address these moisture issues. A malfunctioning AC could have a clogged condensate line, frozen evaporator coil, or incorrect unit size for your space.

Strange smells wafting from your AC vents shouldn’t be ignored, as they often signal serious system problems. Different odors can indicate specific issues, from mold growth to electrical malfunctions. If you notice musty, burning, or rotten egg smells, it’s time to call a professional AC technician immediately.
Common AC odors and their causes include:
Don’t try to mask these smells with air fresheners – address the underlying problem promptly.
While unpleasant odors can alert you to AC problems, watching your system’s running patterns offers another key warning sign.
If your AC runs continuously but doesn’t cool your home effectively, you’re likely facing a serious issue. This problem often indicates a refrigerant leak, dirty coils, or a failing compressor.
You might notice your energy bills climbing while your home stays uncomfortably warm. Don’t ignore these symptoms, as they can lead to complete system failure and more expensive repairs.
A properly functioning AC should cycle on and off throughout the day, maintaining your desired temperature. If yours isn’t doing this, it’s time to call a professional technician who can diagnose and fix the underlying cause before your system sustains permanent damage.
The opposite of constant running, frequent cycling – where an AC unit rapidly turns on and off – signals another concerning issue.
This behavior, known as short cycling, can greatly reduce your system’s efficiency and lifespan while driving up energy costs. When your AC turns on and off every few minutes instead of running complete cooling cycles, it’s time to investigate.
Common causes of short cycling include:
If you notice your AC cycling more than 2-3 times per hour, contact a professional technician to diagnose and fix the underlying problem before it leads to system failure.
Like a doctor’s symptoms checklist, these AC warning signs are your first line of defense against a system breakdown. Don’t let small issues snowball into costly repairs that’ll drain your wallet faster than a summer heatwave. You’ve got the knowledge to spot these red flags now – trust your instincts and call a professional when something’s off. Your comfort and peace of mind are worth it.

You’d be surprised by how many critical maintenance spots in your home go unnoticed until they cause major problems. While you’re diligently cleaning visible areas and handling obvious repairs, hidden spaces could be harboring issues that’ll cost you thousands. From clogged vents to deteriorating window seals, these overlooked areas can impact your home’s safety, efficiency, and value. Let’s explore these forgotten spaces and prevent them from becoming tomorrow’s emergencies.

Three major home appliances often hide neglected spaces that can harbor dust, debris, and potential hazards.
Your refrigerator’s condenser coils collect dust and pet hair, reducing efficiency and increasing fire risks. Pull out the fridge twice yearly to vacuum these coils and wipe down the surrounding walls and floor.
Your washer and dryer require special attention too. Check behind the washer for leaky hoses and mineral buildup, and clean your dryer’s vent duct to prevent dangerous lint accumulation.
You’ll need a long, flexible brush to reach deep into the duct.
Don’t forget your dishwasher’s underside and surrounding cabinet floor. Wipe this area regularly to catch early signs of water damage and prevent mold growth that could spread to adjacent cabinets.
While many homeowners remember to clean their dryer’s lint trap, they often neglect the more critical components of their dryer’s ventilation system.
You’ll need to inspect and clean the entire vent duct from your dryer to the exterior vent at least once a year to prevent fire hazards and maintain efficient operation.
Look for signs of trouble: clothes taking longer to dry, excessive heat in your laundry room, or a burning smell during operation.
Pay attention to warning signs: extended drying times, unusually hot laundry rooms, and burning odors could indicate serious ventilation problem, recommends Geremey Engle, owner of Ellingwood Pro, a home inspector with a huge service area in Virginia, West Virginia, Maryland and Tennessee.
Check that your exterior vent flap opens and closes properly, and ensure birds haven’t built nests inside.
You should also verify that your ductwork isn’t crushed or kinked behind the dryer, as this restricts airflow and creates dangerous lint buildup.
Consider hiring a professional vent cleaning service if you can’t easily access the entire duct system.

Moving from one ventilation concern to another, your home’s foundation vents and crawl spaces need regular attention to prevent moisture damage and maintain structural integrity. You’ll want to inspect these areas quarterly and ensure proper airflow through foundation vents while keeping them clear of debris, vegetation, and pest intrusions.
| Maintenance Task | Why It’s Important |
|---|---|
| Clear vent debris | Prevents moisture buildup |
| Check for pests | Stops structural damage |
| Monitor insulation | Controls temperature |
Don’t forget to examine your crawl space for standing water, mold growth, or damaged vapor barriers. If you spot discolored floor joists or musty odors, you’re likely dealing with moisture issues that require immediate attention. Consider installing a humidity monitor to track moisture levels and maintain optimal conditions year-round.
As your home’s first line of defense against water damage, roof valleys and gutter systems require regular inspection and maintenance throughout the year.
Check your roof valleys – where two roof slopes meet – for leaves, twigs, and debris that can trap moisture and cause shingles to deteriorate. You’ll want to clear these areas at least twice annually.
Your gutters need even more frequent attention. Clean them every three to four months to prevent clogs and ensure proper water flow away from your home’s foundation.
Don’t forget to inspect your downspouts for proper attachment and positioning. If you notice water overflowing during rain, you’ve likely got a blockage that needs immediate attention.
Install gutter guards to reduce debris buildup and make maintenance easier, but remember they don’t eliminate the need for regular checks.

Despite regular window cleaning, many homeowners forget about maintaining their window tracks and weather stripping.
These components play crucial roles in your home’s energy efficiency and protection against drafts, moisture, and insects.
Well-maintained window tracks and weather stripping are your home’s first line of defense against energy waste and unwanted intrusions.
You’ll need to vacuum window tracks regularly to remove dirt, dead insects, and debris.
Follow up with a thorough wipe-down using a damp cloth and mild cleanser. For stubborn grime, use an old toothbrush to scrub the corners and crevices.
Check your weather stripping annually for signs of wear, cracking, or gaps.
If you notice cold air seeping in or see daylight around your closed windows, it’s time to replace the stripping.
You can easily install new weather stripping yourself using peel-and-stick varieties available at hardware stores.
Two major components of your attic system frequently escape routine maintenance checks: insulation and ventilation points.
You’ll need to inspect both regularly to maintain your home’s energy efficiency and prevent moisture-related problems. Poor attic maintenance can lead to higher energy bills, ice dams in winter, and premature roof deterioration.
Don’t wait for visible problems to appear. Schedule regular attic inspections, especially before extreme weather seasons.
Just as a ship needs attention above and below the waterline, your home’s forgotten spaces deserve regular care. You’ll find that maintaining these overlooked areas isn’t just about preventing problems – it’s about creating a more efficient, safer living environment. Don’t wait until issues surface; make these hidden spaces part of your regular maintenance routine. Your home will thank you with years of reliable service.

